By: Don Lewis
Abilitylabs.com
Although the winter holidays have passed, Spring has many gift-giving opportunities with Easter, Passover, Ramadan, Mother’s Day and Father’s Day on the horizon! Here are some creative, fresh ideas for sharing your homegrown goodies!
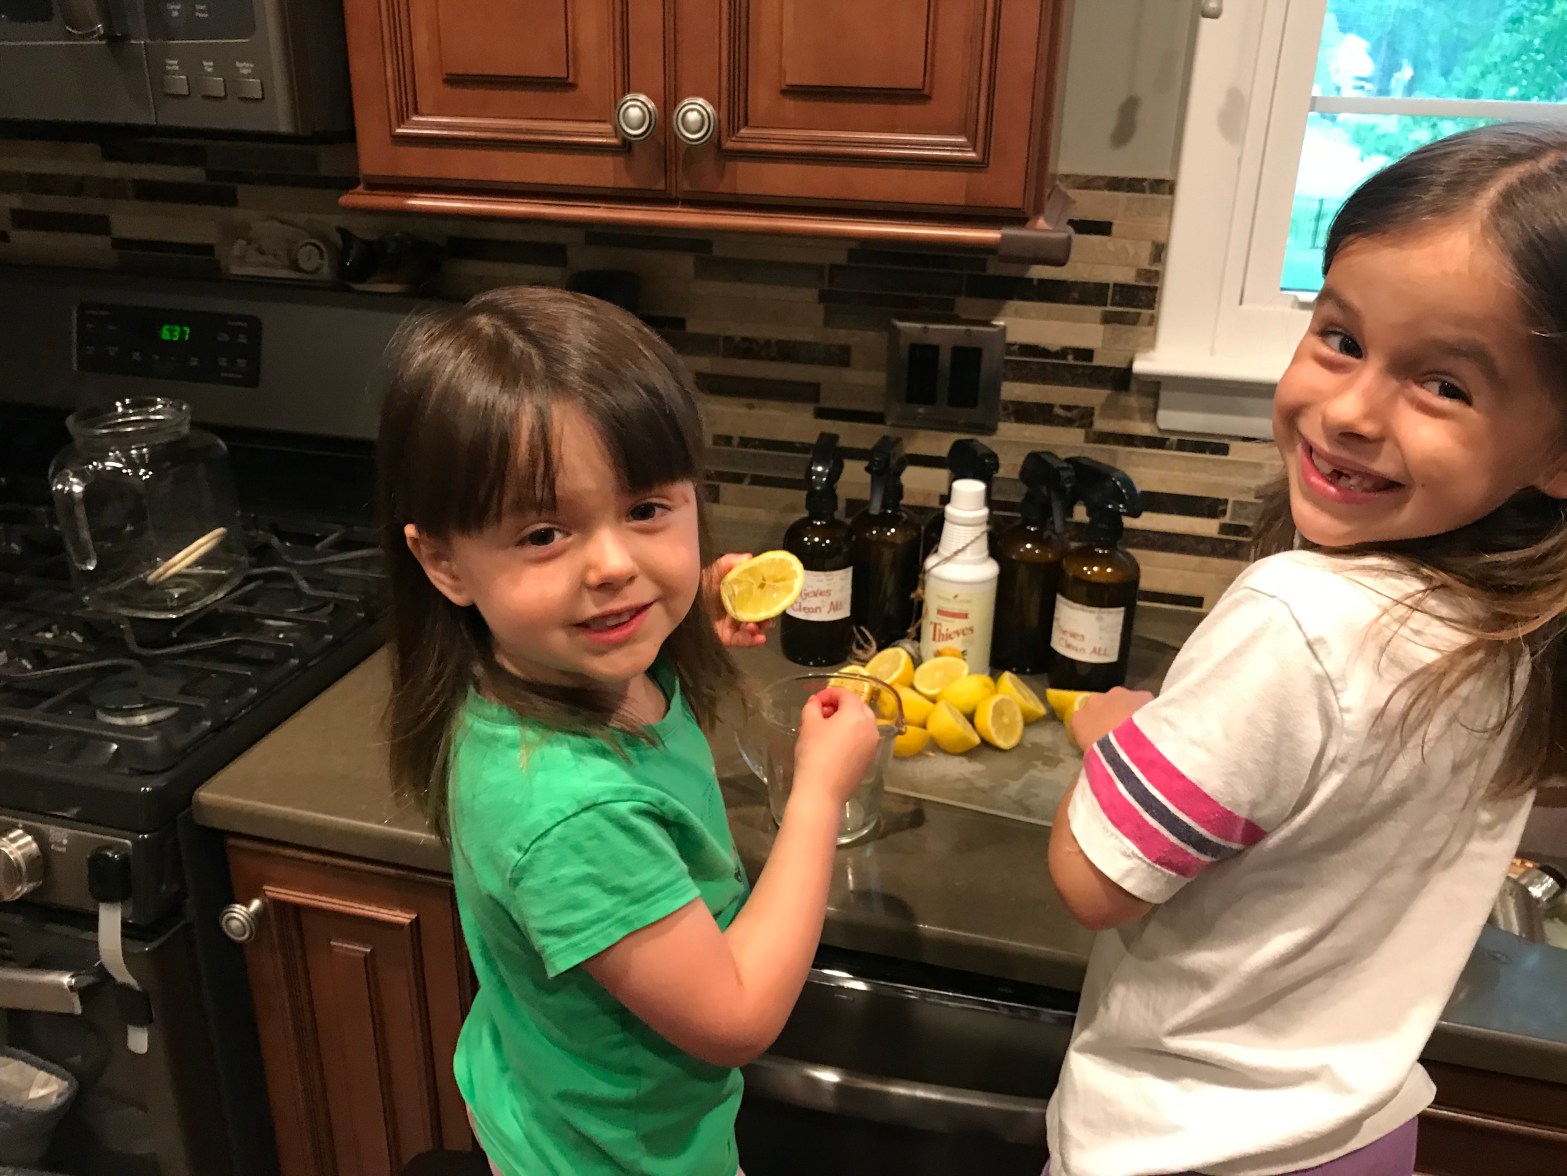
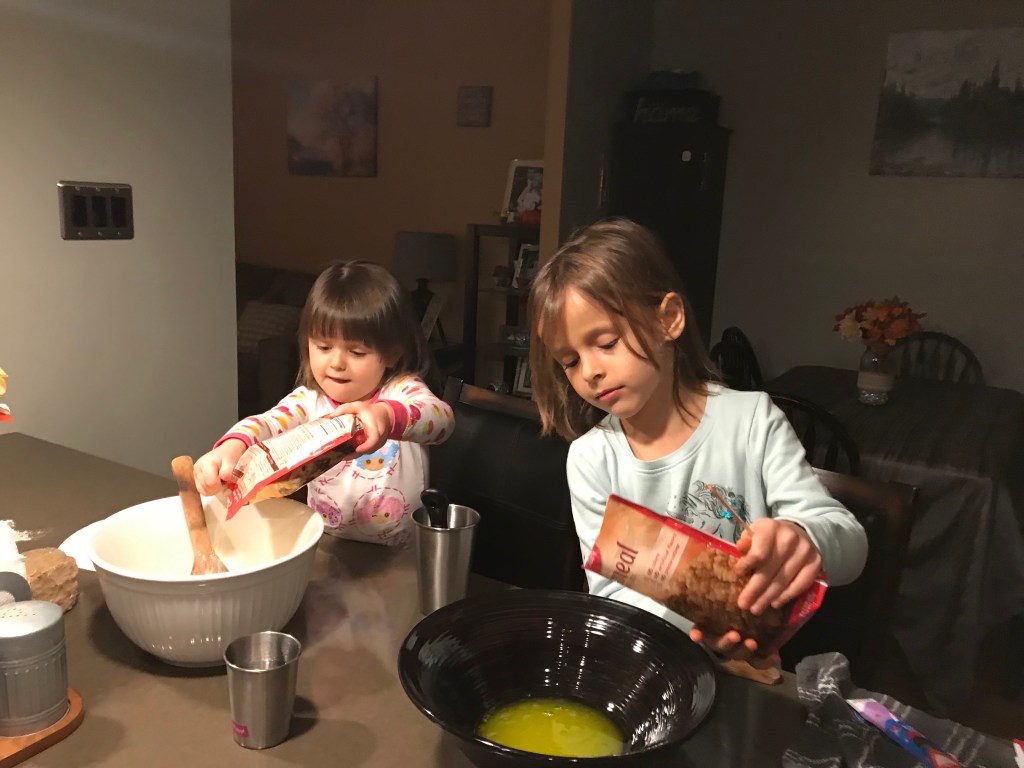
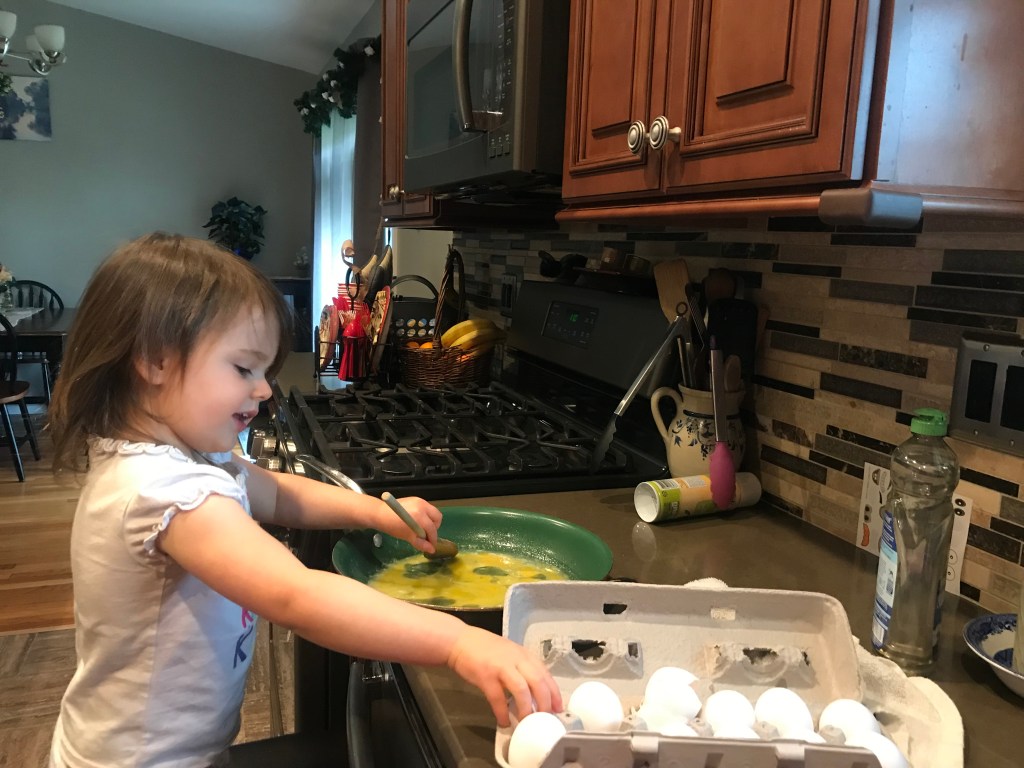
The scent of cinnamon apples, the color of summer berries sealed in glass, or the rustic charm of a warm bread loaf wrapped in parchment — homemade food gifts capture something rare: care, time, and authenticity. For parents during the holidays, these small-batch creations can double as heartfelt presents or small-scale entrepreneurial treasures.
Here’s how to prepare, package, and present your homegrown foods beautifully — for both gifting and selling.
What You’ll Learn in This Guide
● Creative and safe ways to prepare homegrown foods for gifting or small-scale selling
● How to elevate your presentation using natural, low-cost packaging ideas
● Labeling, storage, and shelf-life tips to keep foods looking and tasting their best
● Smart design and printing ideas for cards, labels, and recipe notes
● How to make your packaging part of the story
Start with the Story Behind the Food
The first ingredient of presentation isn’t packaging — it’s narrative. Homegrown foods are full of personal stories: a child’s first garden harvest, the family jam recipe, or herbs from your backyard. Whether you’re gifting to friends or selling at a local market, share that story on your label or in a short tag.
This makes your food instantly memorable and connects emotion to flavor — the secret to repeat joy (and repeat customers).

Design Elements That Make Homemade Goods Shine
Before jumping into labels or wrapping, it helps to define the design mood of your presentation. Consider these visual anchors to create consistency and charm.
Some inspiration to get you started:
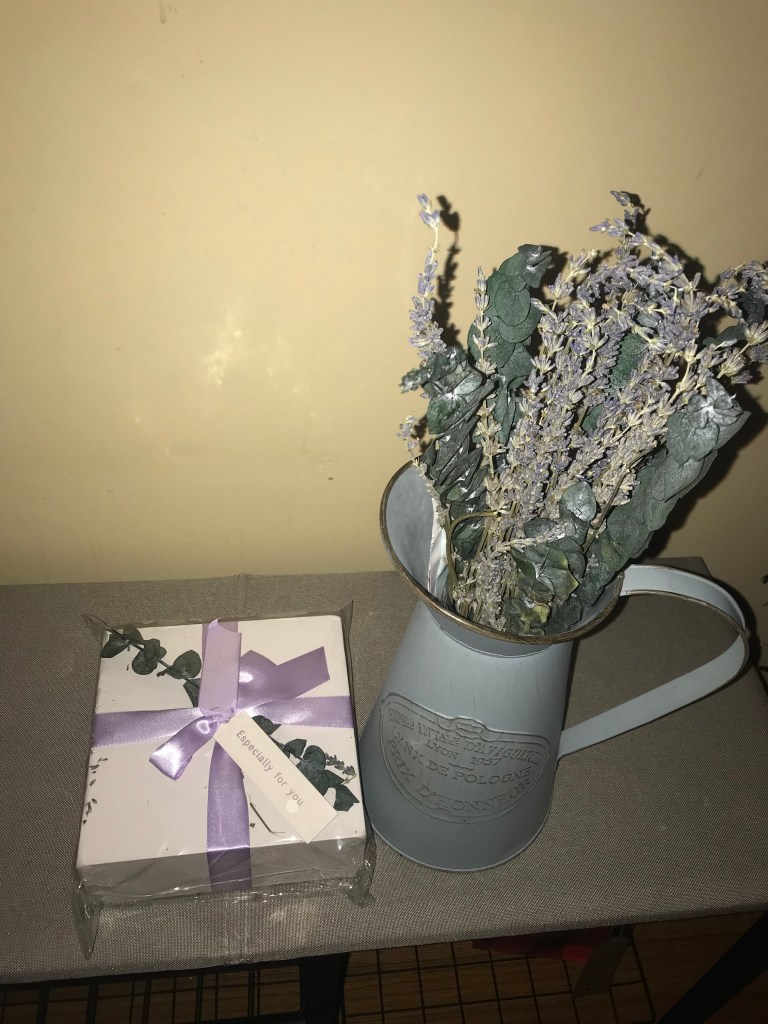
● Natural textures: Recycled kraft paper, twine, fabric scraps, or dried herbs add warmth.
● Seasonal accents: Pine sprigs, orange slices, or cinnamon sticks tied to jars instantly signal “holiday.”
● Simple color palettes: Two to three colors max — think sage green, cream, and gold for an elegant seasonal touch.
● Clear visibility: When gifting or selling, people love to see the product. Use clear jars, parchment windows, or transparent bags wherever possible.
How to Safely Package Homemade Foods
Homemade doesn’t mean unprofessional. Proper preparation ensures your gifts are beautiful and safe to enjoy.

Quick Ways to Add Polish to Your Presentation
A few thoughtful touches can transform your kitchen creations into gift-shop-worthy delights.
Here are simple, affordable ideas you can mix and match:
● Add handwritten ingredient tags using recycled cardstock or plantable seed paper.
● Wrap bread loaves or cookies in parchment and tie with baker’s twine.
● Layer granola or spice blends in clear jars to show color and texture.
● Use seasonal fabrics (old linens work great) to cover jar lids or line boxes.
● Attach a recipe card or “how to serve” note to help recipients enjoy your food their way.
Create Custom Cards That Elevate Your Gifts
Your food tells a story — and your card or tag can visually complete it. A simple, well-designed note can turn a jar of jam into a keepsake.
You can easily print free cards using online templates that allow you to customize color, size, font, and graphics, then print right at home. Add your family name, year, or a short message for a polished finish.
Holiday Gifting How-To: Checklist for Parents
When time is short and you’re balancing everything else, use this checklist to keep the process stress-free and joyful.
Your Fresh Food-Gifting Checklist:
1. Plan your batch: Choose 1–2 foods that travel and store well (like spiced nuts or cookies).
2. Prep ingredients early: Measure, sterilize, and prep jars or boxes a few days ahead.
3. Keep safety first: Always cool baked goods before wrapping and store perishables in the fridge until delivery.
4. Label clearly: Include the date, ingredients, and any allergens.
5. Add a personal note: A child’s drawing, a simple “from our family to yours,” or a thank-you tag goes a long way.
6. Bundle by theme: For gifting, group complementary items — a bread loaf with flavored butter, or tea with honey.
Common Questions from Gift Makers
Before you tie the last ribbon, here are a few questions families often ask:
Q: How early can I make food gifts before giving them?
A: Most baked goods can be prepared 1–3 days ahead; jams and pickles last weeks. Label everything with a “best by” date to be safe.
Q: What’s a good homemade gift for teachers or neighbors?
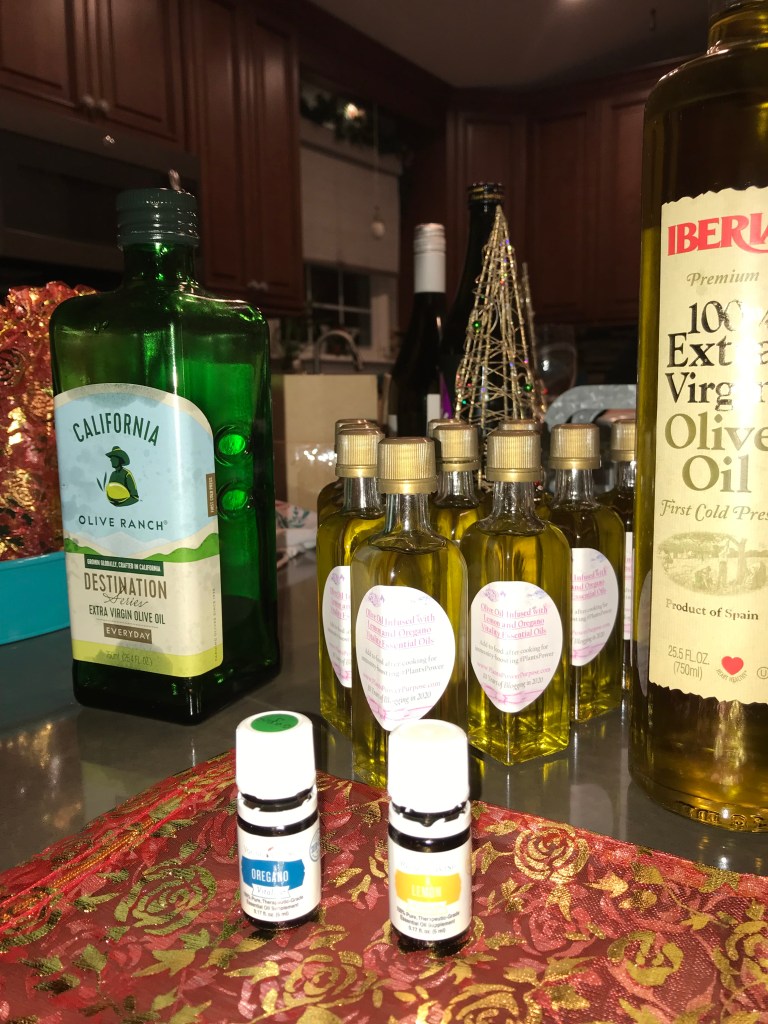
A: Try flavored salts, herb oils, or small spice jars — easy to make, practical, and elegant when wrapped.
Q: How can I make my packaging more eco-friendly?
A: Skip plastic. Choose compostable parchment, reusable tins, and twine instead of tape. Encourage reuse by labeling containers “please return or repurpose.”
Closing Thoughts
Homemade food is more than a treat — it’s a tangible piece of your family’s story. Whether you’re gifting or selling, presentation is how you share that story with the world. Keep it simple, sincere, and well-structured. A clean jar, a clear label, and a heartfelt note can turn a kitchen project into something unforgettable — both for you and the person lucky enough to receive it.
So this season, package not just food, but warmth. That’s what makes homegrown gifts truly beautiful.
###
